|
• HOME • ABOUT US • BLOG • CONTACT US • CATALOG • EVENTS • TEACHING • TIPS & ARTICLES • LINKS • SITE MAP • |
||
|
Tips:
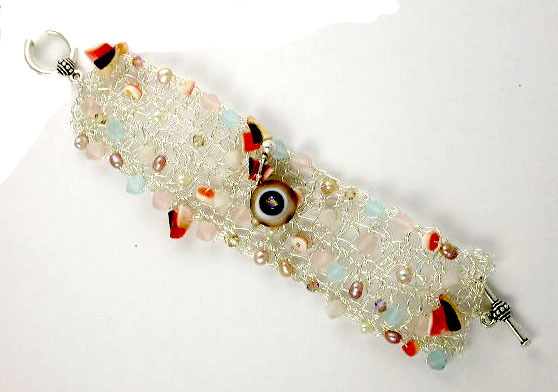
Crocheted
Sea Net Bracelet
|
||||

|
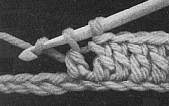
This tutorial assume you know some basic crochet stitches already: chain stitch and single crochet. It teaches double crochet. I would suggest trying the stitches with yarn, first, before you try it in wire. Materials
Needed: From
Beadwrangler.com: Instructions: Make bead soup with the beads you intend on using.You may want to consider a matte finish on some of your beads using Acid Etch. Load them onto your wire. Remember to tie a knot at the end so they don't slip off! Chain stitch (without beads) the length of your bracelet. Remember that you have the clasp to add later!
To add beads, you pull a bead up to the work anytime right before you yarn over the first time. You can add as many or few beads as you want(I usually add one every other stitch). The beads will only appear at the BACK of the work, so I do one row of double crochet with beads, turn my work, then one row of single crochet without beads. Repeat until the bracelet is the width you want. If you want a beaded edging, then work all the way around your piece as the last step, in single crochet, with beads. Use a piece of wire to attach your focal beads to the center, and to your clasp. |
\ Like
these tips, articles and tutorials?
Good
River Gallery |
||

|

|
 |

|
 |
copyright © Hannah Rosner 2000-2009 ~ all rights reserved